Kitchen Workbook: When to Pick Fixtures and Finishes
Is it faucets first and sinks second, or do cabinets lead the way? Here’s a general timeline for choosing items during your kitchen’s design:
Many homeowners think designing a kitchen starts with picking items like appliances, flooring, cabinet finishes, countertops, faucets and lighting … and to a point it does. But I try to keep my clients from worrying about many of these items until after the space planning is complete. The huge number of options can be distracting, and it can be overwhelming for most homeowners to make all these decisions at once. You may think you want a cooktop and separate double oven, but it may not be the best appliance package for the design, and at some point you’ll be faced with that decision. Getting overcommitted too early on can stifle creativity and hinder your progress in getting the best kitchen design for your home. For some, choosing kitchen fixtures and finishes is like being a kid in a candy store. They like everything and can’t stay focused on what’s right for the overall aesthetic or design. For others, it’s paralyzing. They get so worried about picking the wrong finish or fixture that they have trouble making decisions or focusing on other important aspects of the job at hand. Even though we always start a kitchen remodel with inspiration photos to get an overall idea of what the client wants the kitchen to look like, I often shelve most of those until after the preliminary plans are complete. I view kitchen remodels as a series of small, layered choices. Here are some ideas for how and when to make them after space planning is complete.
1. Appliances, Sinks and Lighting
I recommend that clients select appliances and sinks during the preliminary design phase, which often comes before selecting the rest of the finishes and fixtures. This is so the plans can reflect the proper sizes, which will in turn affect the cabinetry layout.
Also, I recommend picking the type and amount of lighting fixtures during this phase: cans, semi-flush mounts, how many pendants over the island and so on, in order to complete the lighting plans so the contractor to provide estimates. Most people haven’t actually picked what style pendant light yet, but at least the decision about number is done. It’s also time to decide whether or not you want a prep sink in addition to your main sink. At this point, by the way, it’s fine if you decide to change from a 36-inch range to a cooktop and wall oven. By the time you get to final construction documents or order cabinets, however, these decisions must be finalized. The nice thing is that there are now a few big decisions that you can check off your list.
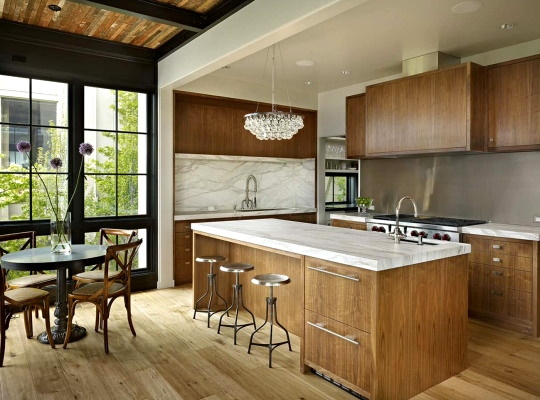
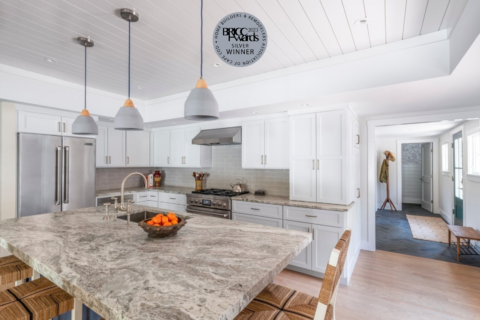
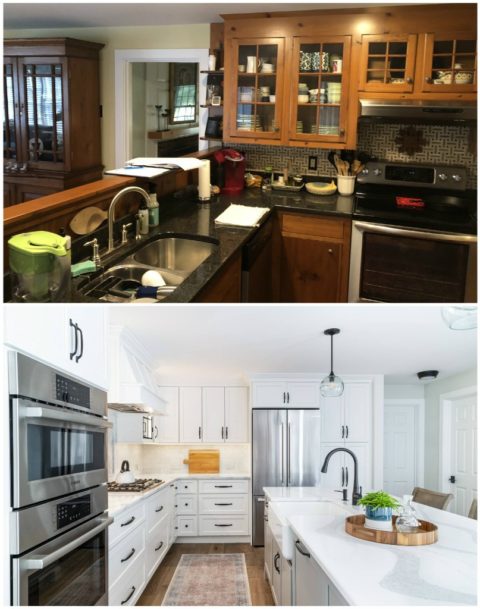
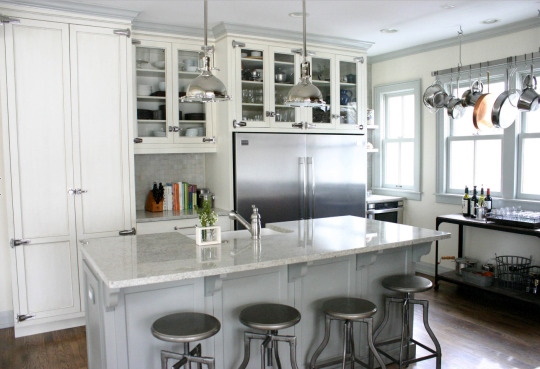
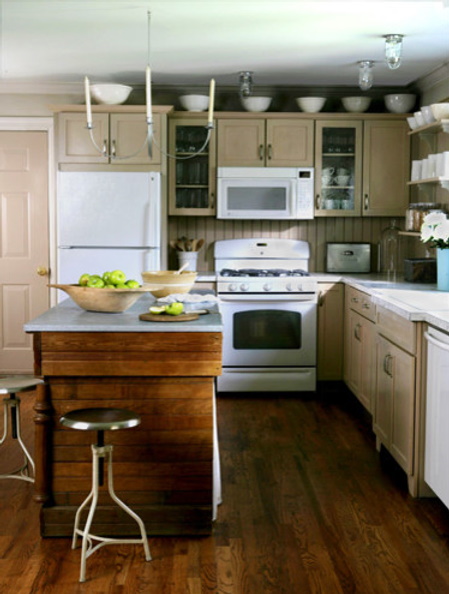
As you can see from comparing the first two photos here, the decision on how many pendants to use affects how many junction boxes you need on the ceiling — and that decision needs to be made before plans get approved for permits and before the contractor closes up the drywall after rough electrical is done. This is why the professional you hired may focus you on figuring out the lighting plan before picking out the countertops.
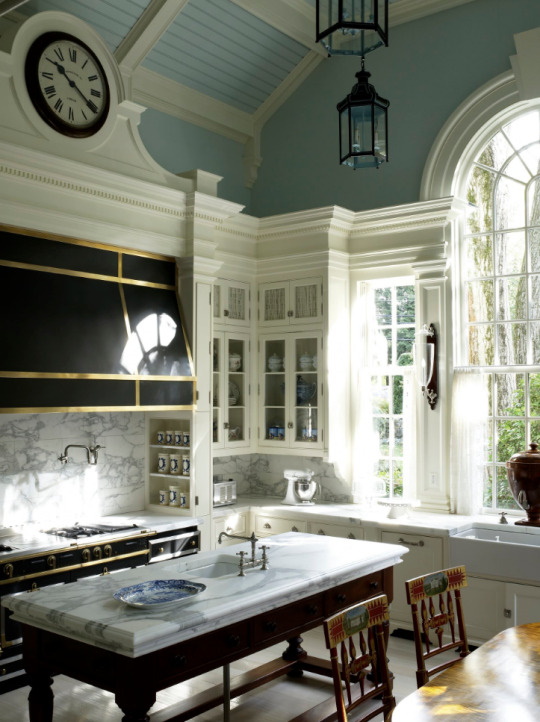
You might have selected your appliances earlier in the design phase, in terms of manufacturer, model number and size, but remember that stainless isn’t the only option. Some companies offer a vintage finish like this black with brass accents, while others offer a wide array of enameled colors. Choices like this can determine the look and feel of your kitchen in one sweeping gesture. Other finish selections to be noted here are the full-height marble backsplash, the farmhouse sink, fabric in the upper glass insert cabinets, the heavy crown molding and the freestanding island.
2. Cabinets, Countertops and Tile
Depending on what type of professional you hired, or if you are doing your own kitchen, you may start the finishes and fixture selection process from a different jumping-off point. Rather than picking the cabinet wood species and finish color by itself, and then picking countertops and tile, I like to have my clients work on an overall palette of materials at the same time. Layer the materials and create collages of patterns, textures and colors to see what works best together. Sure, a client might have the idea that they want a “white kitchen,” meaning white cabinets, but there are many “whites” out there, and what you mix them with really makes a huge impact on what the overall kitchen will look like. Each small decision is layered to achieve what the final look of the kitchen will be. In this kitchen, an antique glazed finish versus pure white cabinets, terra-cotta 2-inch tile versus subway tile, and glass-front cabinets give this kitchen its unique fingerprint.
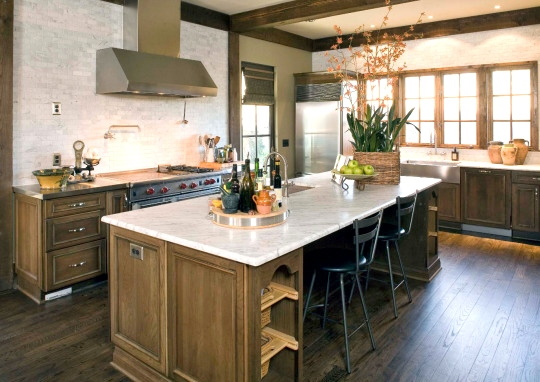
By contrast, this classic kitchen with walnut cabinets and a marble tile backsplash has less ornamentation than the previous one, but it’s still all about the series of small choices: the simplicity of one cabinet finish and wood species, the decision to run the marble tile all the way to the ceiling and match the same marble on the countertops. By way of a series of small choices, this kitchen reveals its personality and says, “This is who I am: I’m classic, warm, and earthy.”
For the modernists out there, you would think picking finishes and fixtures would be easier, with less adornment and fewer decisions to make. For some this might be true, but I find that for others this style can be just as challenging. It’s all about restraint and editing, and that’s hard.
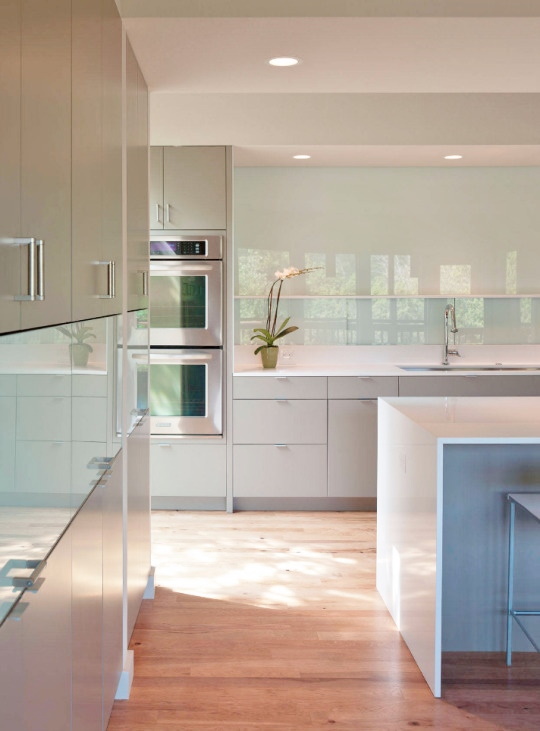
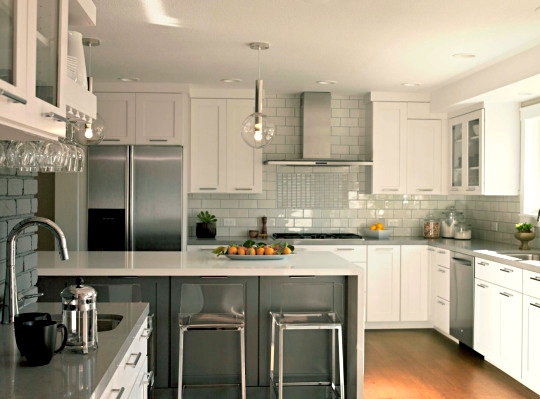
The small choices in this kitchen include sleek appliances, noninvasive lighting, and a flat-planel door style on the cabinets. Two more signature elements: the full-height glass backsplash and the waterfall-style island countertop.
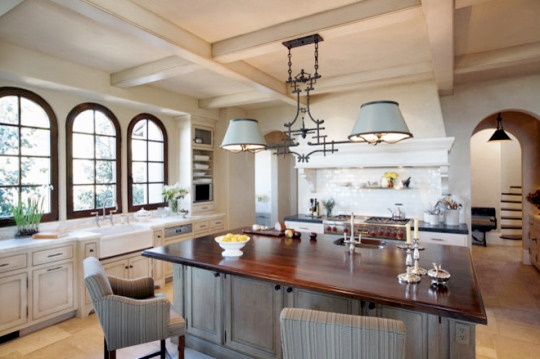
The layering and mixing of finishes in this kitchen give it an old-world charm. Note the glazed blue-gray island and its relationship to the pendant above. The choices for a mahogany-tone wood countertop, dark trim around the windows and a custom hood surround in particular were all made during the process of designing this kitchen and impact the overall finished look and style. Tip: Order current samples of the materials you’re considering. Get a door sample with your style and finish for final approval. Make sure you go to the stone supplier and view and tag the actual slab of marble for your countertops, and make sure to order a current control sample of tile for your backsplash. All these extra steps will cut down on costly mistakes.
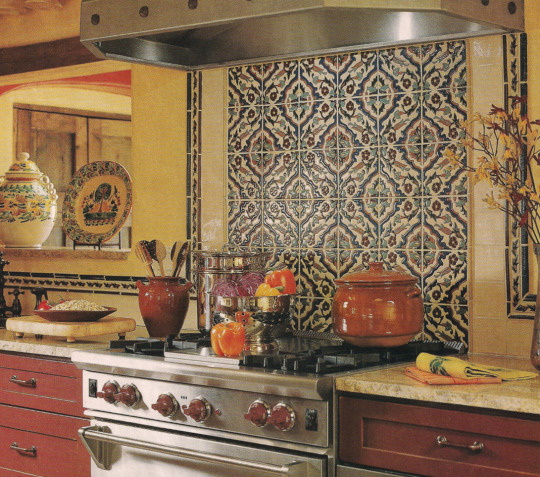
Decorative tile in the kitchen is a great way to express your personality and style, but proportion and scale are critical. Tile is a pretty permanent decision; once it’s up, it’s expensive to change. You or your designer should do color studies and pattern studies, and look at them alongside photos and samples to be absolutely sure you’re making the right choices.
3. Flooring
Matching the floor stain color is one of the most challenging phases of a project. If you’ve got original floors and plan to refinish just the kitchen — or are laying new wood floors to match the old for continuity — don’t expect a perfect match. Many floors in old homes are made of old-growth wood, and flooring is manufactured differently now. The natural patina of an old floor also is nearly impossible to match. Companies offering reclaimed wood floors can make that matching process easier.
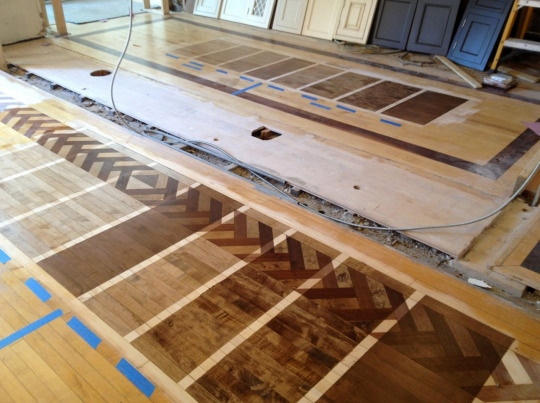
Testing is the best way to get a close match. Even if you’re not trying to match new to old, doing stain tests on samples of the actual flooring is the best way to get it right. If you’re doing tile or stone floors, work on picking those materials at the same time as cabinets, backsplash and countertops. The relationships among these materials is critical. It’s tough to mix different types of stone and tile unless you want your kitchen to look like a showroom.
4. Paint Colors
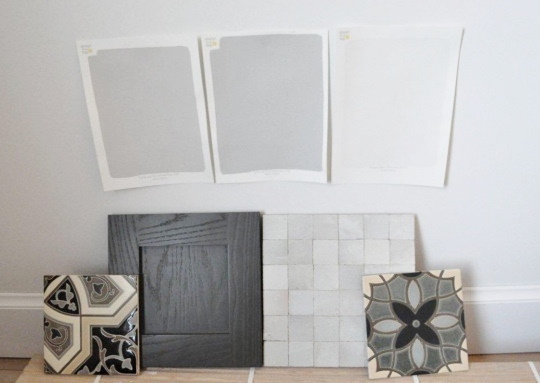
Once I’ve worked with the client to pick the collage of materials for the kitchen, we lay these out to focus on paint color. The reason this phase often comes bit later is that the kitchen might be under construction and still have the old paint color on the walls. The floors may be covered in that pinkish-red rosin paper, which can affect the look of the color on the walls.
When looking at your paint swatches, be sure your walls are primed white. If you plan to paint your window and door casings, prime them white too. If you’re keeping them as they are, make sure they are free of dust. Any amount of color in the room can throw off the new wall color sample tests. Pick your paint colors next to the other materials, including pulling back a section of the protective floor covering to get a good sense of how the colors work with the new stain color.
5. Decorative Details
Details like shaped cabinet doors, niches for spices and oils, and decorative lighting should all be considered while working on the design development and finish/fixture selection.
6. Furnishings and Accessories
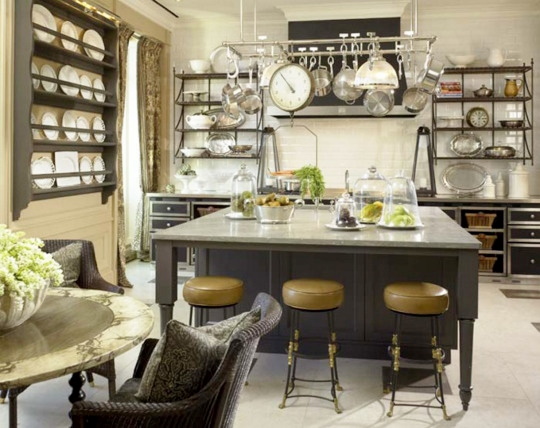
Picking bar stools and tables and chairs for an eat-in kitchen usually comes at the end, but this is also important, so don’t just mail it in at this point. Think about adding patina and texture through vintage pieces if you can find them. And don’t forget about items like decorative plate racks, artwork and area rugs or runners. Small touches like this can add much character to a newly remodeled kitchen.
For recommendations on local showrooms and kitchen designers, please contact Philbrook Construction Services Group for all your construction planning and home improvement needs.

